Fresh Eucalyptus: Blumigo | Holly berries: Blume2000, bought locally | Candle holders & candles: Depot | Table sets: Depot (sold old, similar here) | Tableware: Villeroy & Boch | Glasses: Depot | Napkins: Depot
It’s (almost) the most wonderful time of the year again. Eating ginger bread, making cookies and decorating our home for that special holiday feeling is what I love most about the Christmas season. But this year, I also wanted to try something new, which is why making a Christmas wreath was on the very top of my holiday bucket list.
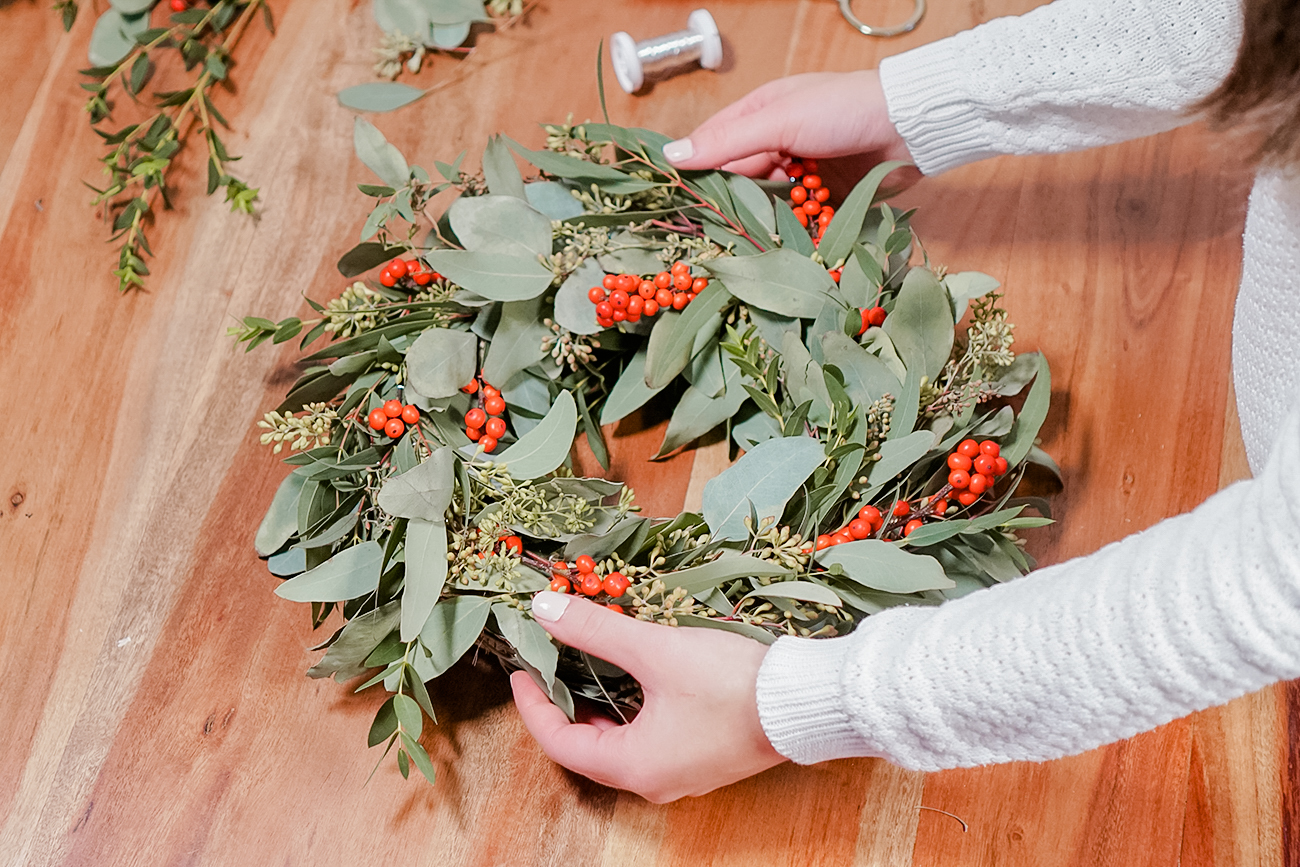
I decided to go with a more modern and simple version of the classic holiday wreath, using rather unusual greenery instead of the typical fir branches. It wasn’t only easier than I thought, but I also love the way it turned, so I decided to share a little DIY guide on how to recreate this modern Christmas holiday wreath.
So grab your wire and let’s get started!
Modern Christmas Wreath Supplies

To recreate this wreath, you’ll need the following supplies:
- a blank straw wreath (diameter of 25 cm or more)
- several stems of Eucalyptus Populus with berries
- several stems of Eucalyptus Parvifolia
- holly berries
- any other greenery or additions you’d like
- floral wire
- Scissors and/or shears
Step 1: Cut Greenery Into Small Pieces
A good preparation of the used greenery as well as organizing it beforehand helps you keeping an overview of how many material and stems you have at hand for your wreath. Cut the stems to a length of 8 to 10 cm. Make sure to take some time for this step as it will make the whole process so much easier.
Step 2: Wrap Wire Around The Straw Wreath
Before attaching any stems, I recommend wrapping the floral wire several times around the straw wreath to build a basis. At the end, twist the wire carefully, so everything stays in place during the next steps.
Step 3: Attach Stems Or Individual Bunches
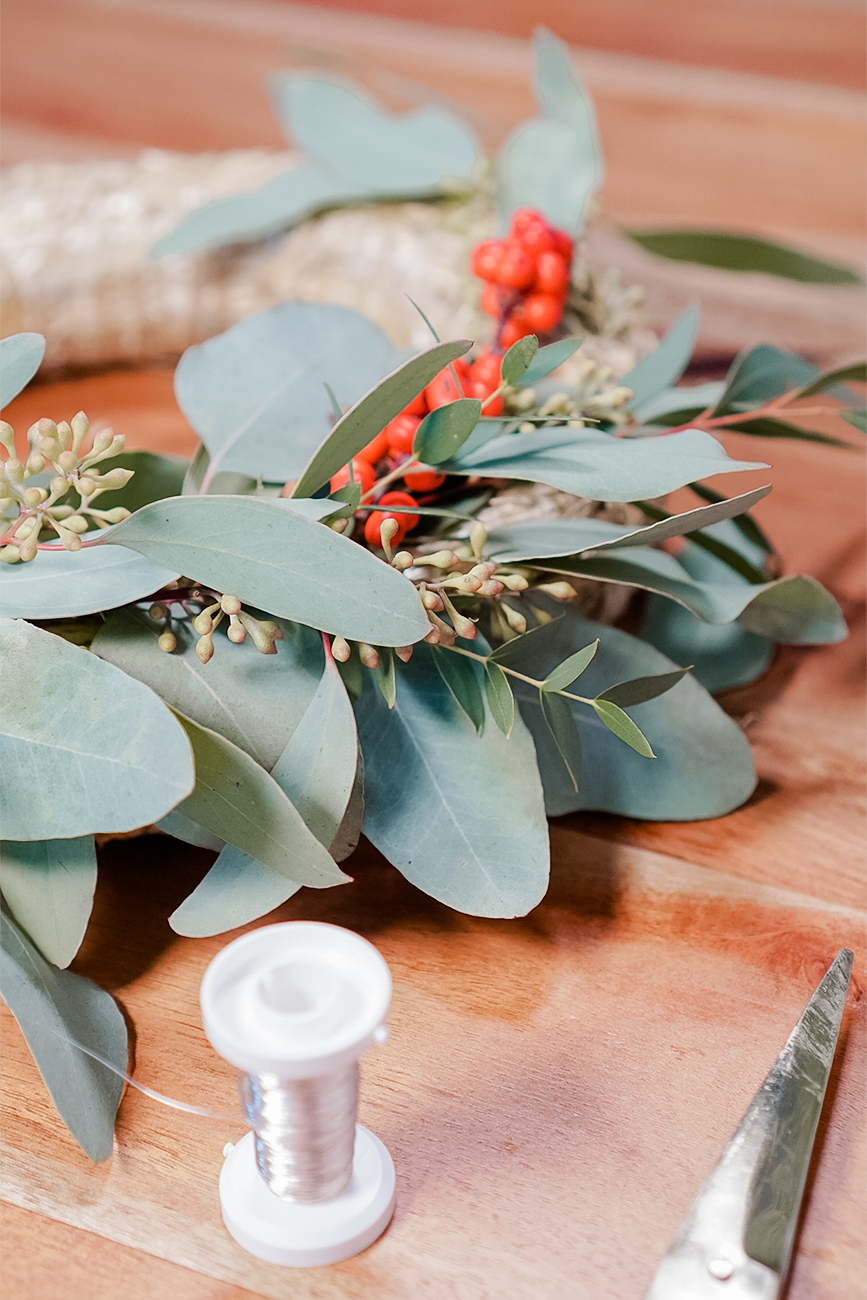
Now the real fun begins! Take separate stems and attach them under the wire, you wrapped around the wreath before. Another possible method is to create little bunches of greenery by combining them beforehand the way you like it best. Then apply the bunches on the wreath and wrap enough wire around the end of the stems so they stick in place.

Step 4: Tie Further Greenery By Maintaining The Round Shape
Take another little bunch and place it right above the ends of the stems you attached before. Always make sure that the ends are well covered. For fastening, use the wrapping wire again. Continue with these steps until the wreath is bound completely round.
Take care of the inner and outer side of the wreath as well and make sure that it’s fully and evenly covered with greenery.
Step 5: Put The Finishing Touches And Hide The Ending
When you reach the end of the wreath, the stems of the last bunch should be attached with wire under the first one you put on the wreath. Secure the wire end on the back with a knot and tuck it into the straw wreath. But don’t tighten too much – or else the wire will snap.

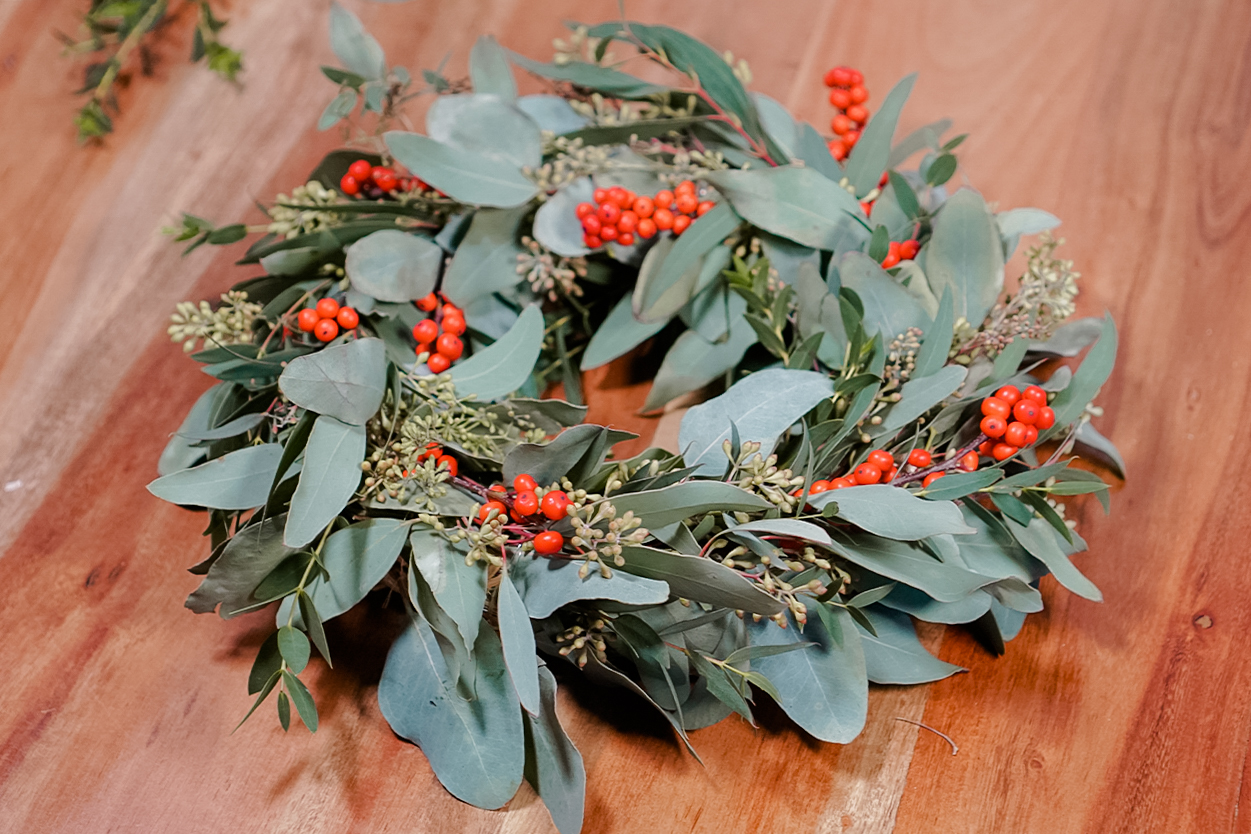
In the end, take another detailed look and fill in any sparse parts that may still be visible with single stems. I also recommend adding the holly berries in the final step, using the wire that’s already there. Drape everything the way you like it most, put candle holders into the wreath and – of course – add some candles. For a clean and simple look I chose white ones, but you can decide for any color you like most! Et voilà – you’ve made your very own Christmas holiday wreath!
Set The Scene For The Holidays With Your Modern Christmas Wreath
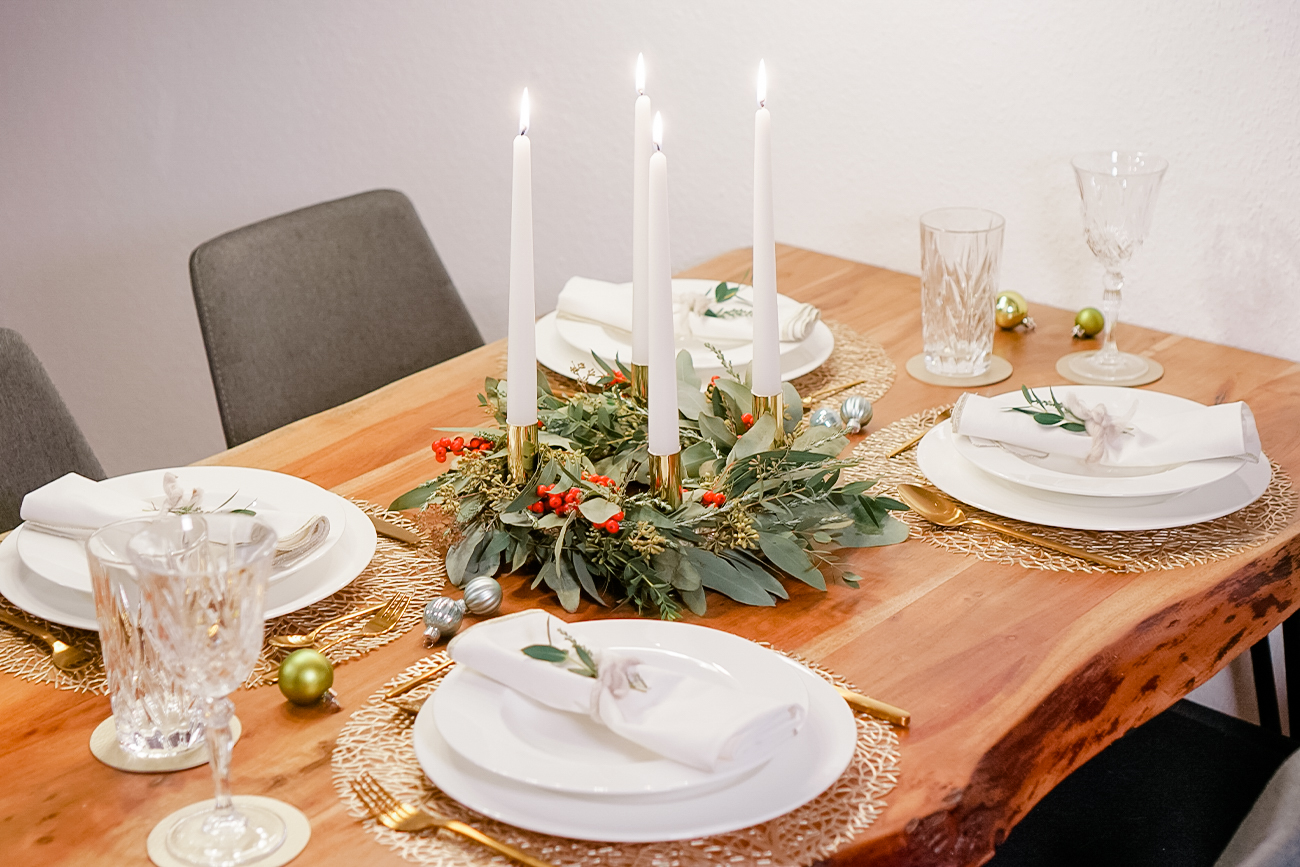
I’m so happy about how this first attempt of making a Christmas wreath turned out! It’s simple and modern and fits in our home just perfectly! It’s also a wonderful addition to a festively decorated table, making it an atmospheric centerpiece for a cosy Christmas dinner.
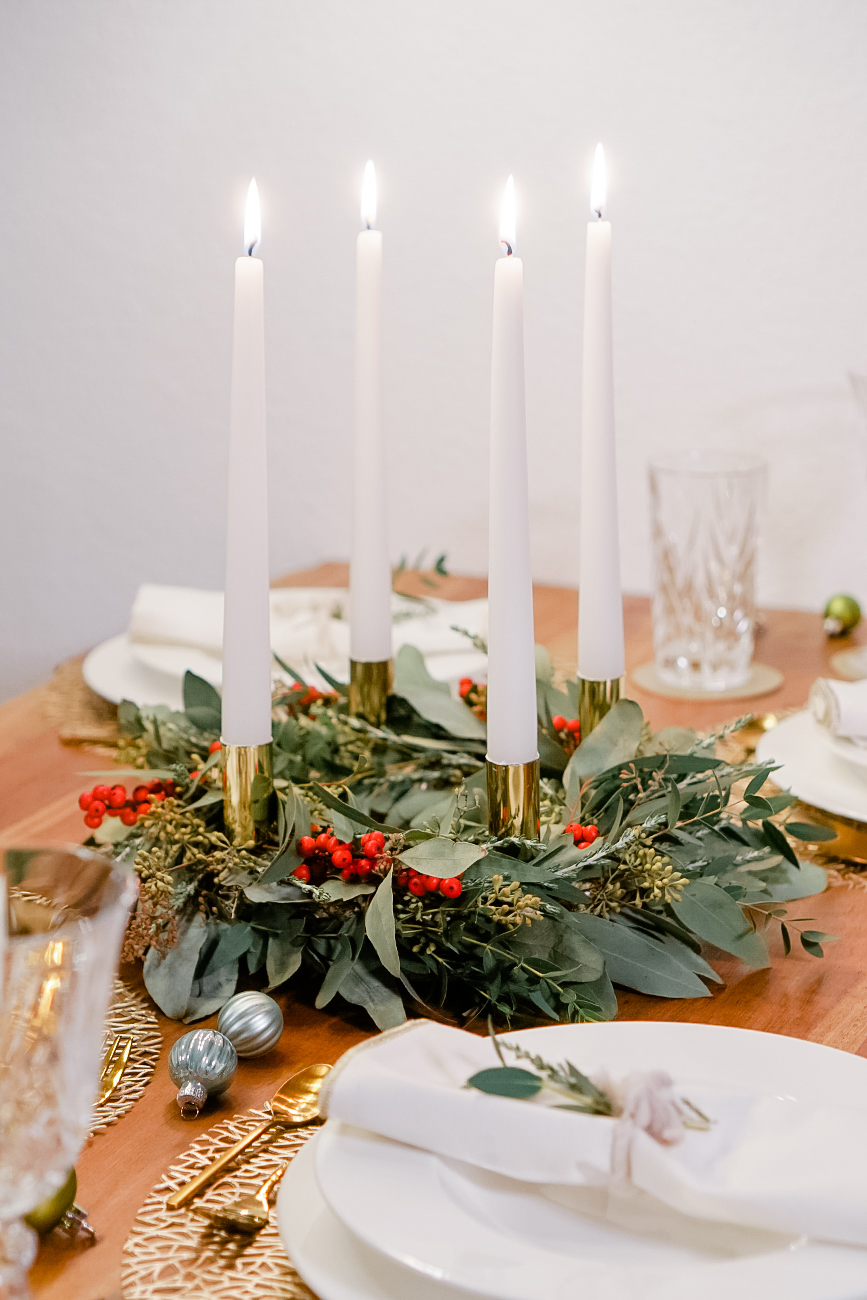

Now I’m definitely ready and in the mood for Christmas! I hope you feel inspired to make your own Christmas wreath this year. Share your recreations on Instagram and tag me, so I can see them!
With much love,
Teresa
